
ESP32 與 Arduino 定義和主要區別
隨著物聯網(IoT)和嵌入式技術的進步,各種型號、各種功能的微控制器應運而生。微控制器從簡單的功能設備發展成為集成多種功能的覆雜系統,滿足各種應用場景的需求。其中, ESP32 和Arduino晶片無疑是最著名、最受歡迎的微控制器之一,廣泛應用於物聯網、教育、創客項目、嵌入式開發等。
Arduino的特點
Arduino 是一個開源電子原型平台,它促進了基於硬件(微控制器)和軟件(Arduino IDE)的項目開發。Arduino 微控制器板基於 ATmega 系列晶片,適合從初學者到專業開發人員的用戶。Arduino 起源於 2005 年,旨在為意大利伊夫雷亞交互設計學院的學生提供物理計算設備。後來它發展成為一個價格合理且易於使用的平台。 Arduino的特點: (1)易於使用和學習:Arduino IDE提供了基於C/C++的簡單編程環境,適合初學者。 (1)高度模塊化和可擴展性:允許用戶輕松修改和擴展功能。 (1)豐富的社區支持:全球有大量的教程、項目和論壇,為用戶提供學習和分享的平台。 Arduino 系列開發板基於幾種不同的芯片。因此,當我們說“Arduino”時,通常指的是由 Arduino 設計和制造的開發板。Arduino 微控制器包括 Arduino Uno、Arduino Mega、Arduino Nano 等。其中,Arduino Uno 是最受歡迎的型號,本文將重點比較 Arduino Uno 和 ESP1 的參數。
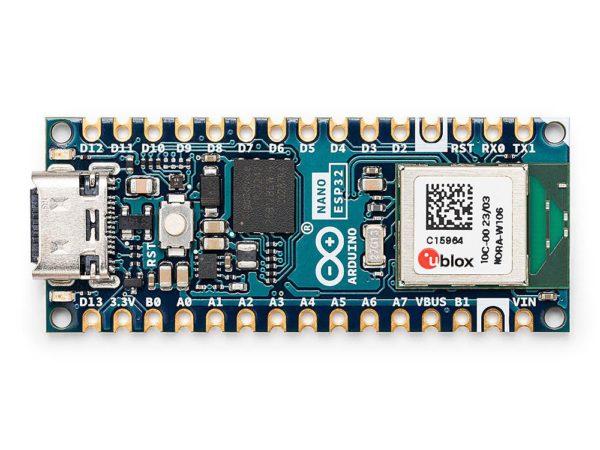
ESP32 是樂鑫科技開發的一款低成本、低功耗、高集成度的 WiFi 和藍牙雙模微控制器晶片。樂鑫科技是微控制器開發領域的另一家全球領導者。該公司總部位於中國上海,自 8266 年以來一直在全球範圍內推廣其 Esp32 和 Esp2008 系列晶片、模組和開發板。
ESP32 的特點
雙核處理器:配備兩個高性能Tensilica Xtensa LX6微處理器核心。
內置無線功能:支持 Wi-Fi(802.11 b/g/n)和藍牙(BLE 和經典藍牙)。
支持多種編程語言:支持C/C++/Python編程。
低功耗模式:支持各種睡眠模式以降低功耗,適用於電池供電的設備。
Arduino Uno 與 ESP32 參數對比
Arduino UNO
- 處理器 8位ATmega328P Tensilica Xtensa LX6 雙核處理器
- 內存 2KB 內存 520KB 內存
- I / O端口 14 個數字 I/O 引腳和 6 個模擬輸入引腳 36個GPIO引腳,支持模擬信號、SPI、I2C、UART等。
- 藍牙 沒有 BLE 和傳統藍牙
- WiFi 沒有 2.4G WiFi
- 工作電壓 5V 3.3V
- 程式語言 C / C ++ C/C++/MicroPython
ESP32 主要技術參數
- 處理器:雙核 Tensilica Xtensa LX6,最高主頻 240 MHz
- 內存:520 KB SRAM
- 閃存:4 MB(視模組而定)
- 無線通信:內建 2.4 GHz Wi-Fi(802.11 b/g/n)和藍牙 4.2(含 BLE)
- GPIO 引腳:最多 34 個,可配置為多種功能,包括數位 I/O、PWM、ADC、DAC 等
- ADC:12 位元 SAR ADC,最多支持 18 個通道
- DAC:2 個 8 位元 DAC 通道
- 通信接口:多個 UART、SPI、I2C、I2S 接口
- 其他功能:內建霍爾感測器、觸控感測器、溫度感測器等
- 工作電壓:3.3V
- 功耗:支持多種低功耗模式,深度睡眠模式下功耗可低至數微安
在為項目選擇微控制器時,必須全面考慮項目的要求。ESP32 開發板適用於需要更高處理能力和連接能力的高級項目,例如智能家居應用、工業自動化和物聯網設備。Arduino 開發板 的簡單性使其適合用於教育目的、業余愛好者項目和藝術裝置。雖然 ESP32 開發板提供非常先進的功能和強大的處理能力,使其適合覆雜的應用,但 Arduino 開發板及其易於使用的方法將供初學者和教育使用。
值得注意的是:Arduino公司最新推出的 UNO R4 WiFi 以及 Nano esp32 有採用 ESP32-S3 晶片。


